
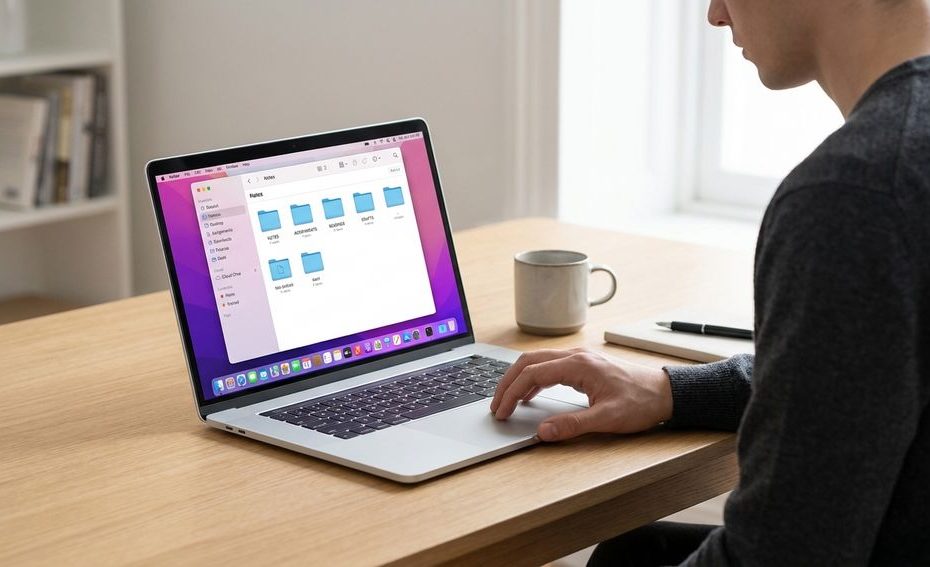
College file organization works best when every file has one home, one naming rule, and one weekly cleanup routine. If you can predict where a file lives before you search for it, you can usually find notes, assignments, readings, and drafts in seconds.
Digital clutter gets expensive during college because it steals time right when you need focus: before quizzes, paper deadlines, group meetings, advising appointments, and finals. This guide gives you a low-maintenance system for organizing college files across your laptop, cloud storage, Learning Management System (LMS), email, phone, and tablet. You’ll build a structure that’s simple enough to maintain during a busy semester and strict enough to keep your files searchable.
Why The Default “Downloads Folder” Strategy Fails
Your Downloads folder fails because it was never designed to be your academic filing cabinet. It catches lecture slides, course syllabi, assignment sheets, Portable Document Format (PDF) readings, screenshots, scanned handouts, scholarship forms, random images, and duplicate files from your LMS. After a few weeks, everything looks equally urgent and equally forgettable.
The real problem isn’t just clutter. It’s mixed meaning. A file called chapter3.pdf could be a biology reading, a history article, a statistics worksheet, or a professor’s handout from three months ago. When file names don’t include the class, topic, date, or version, your laptop can’t help you much. Search works better when you give it useful words to search.
A messy Desktop creates the same issue. It feels convenient for one day, then turns into a pile of files you’re afraid to move because you don’t remember what they are. A strong system gives temporary files a short-term holding area, then moves school files into a predictable place. That’s the difference between “I know I downloaded it” and “It’s in my spring chemistry assignments folder.”
Step 1: Build The Core “Semester Shell”
Start with one top-level folder for school, then create a folder for each academic term. A clean semester folder structure keeps your active classes together and stops last year’s files from mixing with this week’s work. A simple format like College > 2026_Fall gives you a home base that sorts neatly and makes sense at a glance.
Inside the semester folder, create one folder for each class using the course code and short class name. Use names like BIO101_Biology, ENG210_Writing, or MATH150_Calculus. Course codes help when two classes have similar names, and short titles keep file paths readable. Don’t overbuild the system with ten nested folders before the semester starts.
Inside each class folder, use a small set of material folders you’ll reuse all semester: Syllabus, Slides, Readings, Assignments, Notes, and Projects. If your course is organized by week, add week folders only where they help, like Week_01 or Week_07. The goal is speed, not decoration. For most students, Semester > Class > Material Type is enough.
Step 2: Use The Naming Formula That Saves Hours
A file naming convention turns your folder system into a search system. Use this formula for most college files: YYYY-MM-DD_ClassCode_Topic_FileType_v01. It looks plain, but it solves three problems at once: chronological sorting, class identification, and version control.
A draft named final.docx tells you almost nothing. A draft named 2026-10-14_ENG210_ResearchPaper_Draft_v02.docx tells you the class, assignment, file stage, and version. If your professor returns comments, save the revised version as v03. If you submit the final copy, use Final only once, after you’re done editing.
Use the date at the front when the file relates to a lecture, reading, assignment prompt, lab, meeting, or deadline. Use the due date for assignments and the class date for lecture notes. If you don’t know the exact date, still include the class code and topic. Your future self doesn’t need a perfect archive; you need file names that remove guesswork.
Step 3: Centralize Your Capture Points
Your files enter your life through too many doors: Canvas, Blackboard, email attachments, shared Google Docs, screenshots, professor websites, scanner apps, and paper handouts. College file organization gets easier when every new item passes through one temporary folder before it enters the permanent system. Name that temporary folder _Inbox so it stays near the top of your school folder.
When you download from your LMS, save the file directly into _Inbox instead of the default Downloads folder. When a professor emails a reading, download it to _Inbox, rename it, then move it into the right class folder. When you scan a handout, save it as a PDF and name it with the same formula you use for digital files. One rule across file types keeps paperless student workflow from becoming another mess.
If you use Google Docs or Microsoft Word online, decide whether the document belongs in cloud storage or as an exported file inside your semester folder. For active writing, it’s fine to keep the editable document in Google Drive or OneDrive. For submitted work, export a PDF copy and save it in the correct assignment folder. That gives you a stable record of what you turned in.
Step 4: Choose Your Cloud Sync Strategy
Your cloud storage should have one master copy of your school folder. Don’t split active classes across Google Drive, OneDrive, iCloud Drive, Dropbox, your laptop Desktop, and a USB drive. Pick the service that works best with your school tools and your devices, then build the semester shell there.
Many students can use university-provided Microsoft 365 Education storage, which often includes a large OneDrive allowance through a school account. Google Drive gives free storage and works well if your classes rely on Google Docs, Sheets, and Slides. iCloud Drive fits students who work mainly across a Mac, iPad, and iPhone. Dropbox can work well too, but its smaller free tier may feel tight if you store many readings, slides, videos, or scanned files.
The master-copy rule matters when you switch devices. If you save a file only to your laptop’s local Desktop, it won’t appear on your iPad. If you save a file only inside an app’s private storage, it may not appear in your normal folder search. Keep active school files in one synced folder, confirm sync is turned on, and avoid moving files from three different devices at the same time.
Step 5: Run A 5-Minute Weekly “Inbox Sweep”
A file system only works if you maintain it, but maintenance shouldn’t feel like a second course. Set a weekly five-minute sweep for your Desktop, Downloads folder, screenshots, LMS downloads, email attachments, and _Inbox. The purpose is simple: rename what matters, move it to the right course folder, and delete obvious junk.
During the sweep, use three decisions. Keep it if it supports a class, assignment, application, campus job, financial aid task, advising meeting, or group project. Archive it if it belongs to a finished semester but could help later. Delete it if it’s a duplicate, failed download, random image, old installer, empty document, or copy you can get again from your LMS.
If you’re afraid to delete files, create a folder called _Review_EndOfTerm. Move uncertain items there during the semester, then clean it after grades are settled and projects are done. This stops your active folders from swelling with files you never open. It also gives you a safety net without turning your whole laptop into a junk drawer.
Step 6: Use Tags And Smart Folders For Cross-Class Projects
Some files belong to more than one place. A research article may help your capstone, a writing class, and a presentation for another course. Don’t duplicate it into three folders unless you need separate edited copies. Use tags, shortcuts, or links so one file can be found from more than one angle.
On macOS, tags can group files by project, status, or topic across folders. On Windows, search can still find files quickly when your names include class codes, topics, and dates. Cloud tools can also use starred files, shortcuts, or shared folders to make cross-class material easier to reach. The rule is to avoid deep folder nesting when search can do the work faster.
Use tags sparingly. Tags like Capstone, GroupProject, ExamReview, and WritingPortfolio can help. Twenty color-coded labels will become another task to maintain. A small tag system should help you retrieve files, not give you another place to organize the same material twice.
Step 7: Back Up Your System Without Thinking About It
Syncing is not the same as backup. Sync keeps files updated across devices, but it can also sync mistakes, deletions, or corrupted files. A student-friendly backup plan gives you one active school folder in the cloud, one local copy on your main computer, and one separate backup on an external drive or flash drive.
The standard 3-2-1 backup rule means three copies of your data, stored on two different media, with one copy off-site. For school files, that can translate to your laptop, your cloud storage, and an external Solid-State Drive (SSD) or flash drive you update weekly. You don’t need a complicated setup. You need a routine you’ll actually follow.
At the end of each term, move the whole semester folder into an Archive folder. Keep it organized exactly as it was during the semester, so old files remain searchable. If your school account closes after graduation or transfer, download your college files before you lose access. Your archive should live somewhere you control.
Step 8: Keep The System Fast With Search-Friendly Habits
The fastest file system combines folders with search. Folders narrow the location, and file names give your computer searchable details. If you type a class code, professor name, assignment title, topic, or date into your operating system search, the right file should rise near the top.
Use plain words in file names. Avoid vague labels like notes, reading, draft, and project unless you add the class and topic beside them. A better name is 2026-09-22_PSY101_Memory_LectureNotes. The extra words feel small when you save the file, but they pay you back every time you search.
Don’t create a folder for every tiny topic unless the class generates many files. Too much nesting slows retrieval because you have to remember the route. A flat class folder with strong names can be faster than a deep folder tree with weak names. Your test is simple: if you can find a file in under three seconds using search, the system is working.
Step 9: Organize Google Drive, OneDrive, And Local Files The Same Way
Your system should look familiar wherever you open it. If Google Drive has one structure, OneDrive has another, and your laptop has a third, you’ll waste time remembering where each class lives. Use the same semester and course folder names across services when you can’t avoid using more than one tool.
If your school assigns group work in Google Drive but your personal files live in OneDrive, keep group folders separate from your master school folder. Add shortcuts where helpful, but don’t drag shared files into your private folder unless you’re allowed to make a copy. Shared documents can disappear if the owner removes access, so export important final versions when a project ends.
For local files, keep one school folder synced to your chosen cloud service. Don’t save active assignments only inside Downloads, Desktop, or Documents unless those folders are part of your sync plan. Check file availability before exams, flights, long commutes, or campus Wi-Fi dead zones. Offline access matters when your notes live in the cloud.
How Do You Organize College Folders?
- Create one semester folder.
- Add one folder per class.
- Use Slides, Readings, Assignments, Notes.
- Start file names with dates.
- Sort one Inbox weekly.
Build A System You Can Trust During A Busy Week
The best college file organization system is the one you can keep using when your week is packed. Give every semester one shell, every class one folder, every file a searchable name, and every new download one temporary inbox. Choose one cloud master copy, back it up, and sweep your loose files once a week before clutter spreads. When your files have predictable names and predictable homes, search becomes fast, deadlines feel less chaotic, and you spend more time studying than hunting.
Reference Links
- University of Wisconsin-Madison: File Management
- Massachusetts Institute of Technology: Backup And Storage
- Google One Plans
- Microsoft OneDrive Plans
- Purdue Online Writing Lab
- Forte Labs: The PARA Method
- PCMag: Cloud Storage And File-Sharing Services.

Brian C Jensen is the CEO of Legacy Global Consulting, Inc., a management consulting firm. With 10+ years of experience, he advises organizations on digital transformation, risk management, and growth strategy—helping clients anticipate market shifts and scale sustainably.